Adding a Library
Feature to a Part
You can add
a library feature to a part by dragging the library feature from the Design
Library to the part.
 You can also drag a library
feature and place it on a plane.
To add
a library feature to a part:
With the
target part open, click the Design Library
tab  on the Task Pane.
Select
Design Library folder  .
.
Browse
to locate the library feature you want to place.
Select
the library feature from the lower panel, and drag it to the face of the
part or plane.
In the PropertyManager, under Configurations:
Once you select
the configuration, the PropertyManager adjusts depending on whether the
library feature includes references.
|
References |
Location |
|
If the library part includes
references, the following is displayed:
|
If the library feature does not
include references, position the library feature by adding:
|
|
|
|
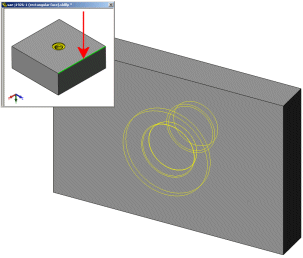
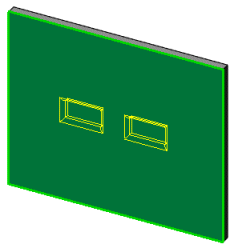
Select each of the edges (or other entities such
as planes) on the part that correspond to the edges or other entities
highlighted in the preview window.
This positions the library feature. |
Click Edit Sketch. |
|
|
|
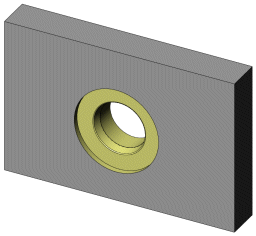
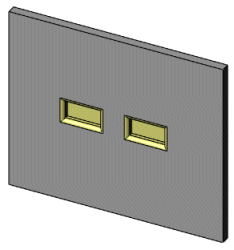
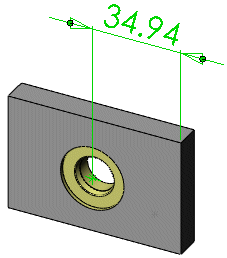
Under Locating
Dimensions, click Value
to edit the dimensions and re-position the library feature. |
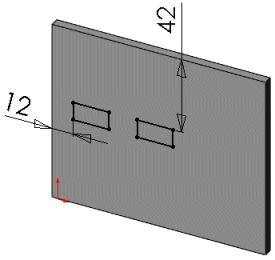
Dimension or add relations to the library feature
sketch relative to the model to position the library feature. |
|
|
|
Under Size Dimensions,
select Override dimension values
to create a custom configuration.
Under Configurations,
Custom configuration is highlighted.
 If you selected Link
to library part under Configuration,
you are prompted to clear the option if you want to specify custom dimensions
in this instance. If you selected Link
to library part under Configuration,
you are prompted to clear the option if you want to specify custom dimensions
in this instance.
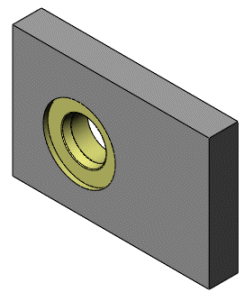
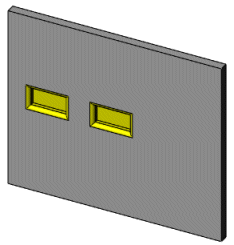
Click Value
to edit the dimensions of this library part. Click  . . |
Click Finish
in the dialog box. |
|
|
|
 You cannot add a library
feature to an assembly. However, while editing a part in the context of
an assembly, you can add a library feature to the part.