Hide Table of Contents

Inserting a Freehand Revision Cloud

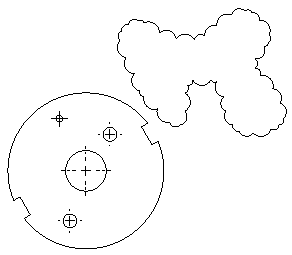
To insert a freehand revision cloud:

  1. In a drawing view, click Revision Cloud toolbar_revision_cloud.png (Annotation toolbar) or click Insert > Annotations > Revision Cloud.
  2. In the Revision Cloud PropertyManager, under Cloud Shape, select Freehand Revision_Cloud_Freehand.png.
  3. In the drawing view:
    1. Click to set the first point of the revision cloud.
    2. Drag a freehand shape and click to set the end point of the revision cloud.

      If you click away from the first point, the tool automatically closes the cloud.

  4. Click PM_OK.gif.
    Revision_Cloud2.png


Provide feedback on this topic

SOLIDWORKS welcomes your feedback concerning the presentation, accuracy, and thoroughness of the documentation. Use the form below to send your comments and suggestions about this topic directly to our documentation team. The documentation team cannot answer technical support questions. Click here for information about technical support.

* Required

 
*Email:  
Subject:   Feedback on Help Topics
Page:   Inserting a Freehand Revision Cloud
*Comment:  
*   I acknowledge I have read and I hereby accept the privacy policy under which my Personal Data will be used by Dassault Systèmes

Print Topic

Select the scope of content to print:

x

We have detected you are using a browser version older than Internet Explorer 7. For optimized display, we suggest upgrading your browser to Internet Explorer 7 or newer.

 Never show this message again
x

Web Help Content Version: SOLIDWORKS 2014 SP05

To disable Web help from within SOLIDWORKS and use local help instead, click Help > Use SOLIDWORKS Web Help.

To report problems encountered with the Web help interface and search, contact your local support representative. To provide feedback on individual help topics, use the “Feedback on this topic” link on the individual topic page.