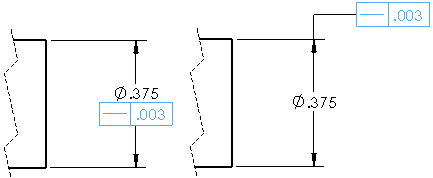
The geometric tolerance symbol adds geometric tolerances to parts and drawings using feature control frames. The SOLIDWORKS software supports the ASME Y14.5-2009 Geometric and True Position Tolerancing guidelines.
- You can place geometric tolerancing symbols, with or without leaders, anywhere in a drawing, part, assembly, or sketch, and you can attach a symbol anywhere on a dimension line.

- The Properties dialog box for geometric tolerance symbols offers selections based on the symbol you choose. Only the attributes that are appropriate for the selected symbol are available.
- A geometric tolerance symbol can have any number of frames.
- The pointer changes to
 when it is on a geometric tolerancing symbol.
- You can add multiple symbols without closing the dialog box.
- You can display multiple leaders. Video: Multiple Leaders
- You can add more leaders to an existing symbol by holding down Ctrl and dragging a leader attachment point.
- To edit an existing symbol, double-click the symbol, or right-click the symbol and select Properties.
- When you drag the leader of a geometric tolerance symbol off a model edge, an automatic witness line is created.