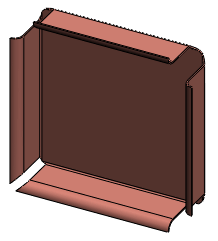
To create a miter flange feature:
- Create a sketch that meets the miter flange requirements. Alternatively, you can select the miter flange feature before you create a sketch (but after you select a plane). When you select the miter flange feature, a sketch opens on the plane.
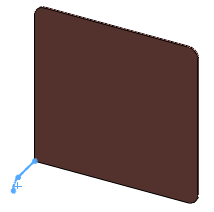
-
With the sketch selected, click Miter Flange
 (Sheet Metal toolbar) or click .
In the Miter Flange PropertyManager the sketched edges are displayed for Along Edges  , along with a preview of the miter flange in the graphics area.
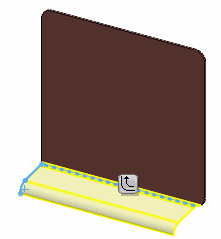
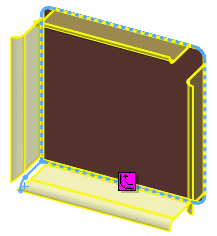
To select all of the edges tangent to the selected edge, click
Propagate 
that appears at the midpoint of the selected edge.
- Under Miter Parameters:
- To use something other than the default bend radius, clear Use default radius and set a value for Bend Radius
 .
.
-
Set the Flange position to Material Inside
 , Material Outside
  , or Bend Outside
  . See Bend Positions for a description of each of these selections.
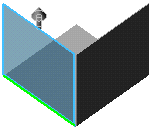
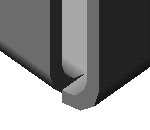
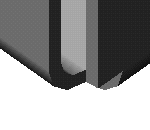
- Select Trim side bends to remove extra material in neighboring bends. Extra material appears when one of the bends of a miter flange touches an existing bend. The cut that trims the neighboring bends is automatically sized, and cannot be edited. This example uses an edge flange feature:
 |
 |
 |
| This is the preview of an edge flange feature. The bend region of the blue preview touches the bend of the L-shaped base flange. |
Result when Trim side bends is cleared. |
Result when Trim side bends is selected. |
- Set Gap distance
 to use something other than the default gap.
- If necessary, specify the offset distances for a partial miter flange:
- Under Start/End Offset set a value for Start Offset Distance
 and End Offset Distance
  . (If you want the miter flange to span the entire edge of the model, set these values to zero.)
- Select Custom Relief Type, and select a Relief type of: Rectangular, Tear, or Obround. If you selected Rectangular or Obround, do one of the following:
- Select Use relief ratio and set a value for Ratio.
- Clear Use relief ratio and set a value for Relief Width
 and Relief Depth
  .
.
- To use something other than the default bend allowance, select Custom Bend Allowance, and set a bend allowance type and value.
- Click
 .
.The miter flange is added to the sheet metal part.
