After you create
the camera sled, you can add the camera, attach it to the camera
sled, and compose the camera view.
To add and position the camera:
- Open the assembly document that includes the camera
sled.
- Click Front
 (Standard toolbar).
-
Right-click Lights, Cameras, and Scene
 (MotionManager tree) and select Add Camera
  .
.
The screen splits into viewports, and the Camera PropertyManager appears.
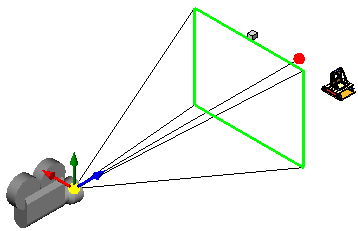
- In the PropertyManager, under Target Point, select Target by selection.
- In the graphics area, select a sketch entity and use it to attach the Target Point to the camera sled.
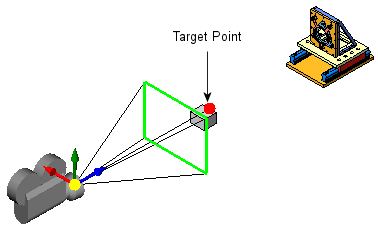
You can center the
Field of View by selecting the midpoint of the line entity.
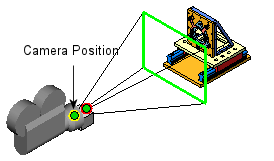
- In the PropertyManager, under Camera Position, click Position by selection.
- In the graphics area, select a sketch entity and use it to specify the Camera Position.
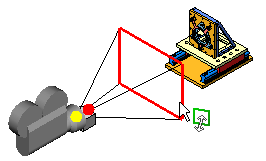
- Drag the Field of View to compose the shot by using the viewport for reference.
 |
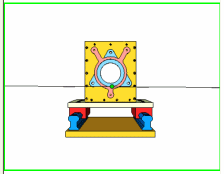 |
| Drag the Field of View rectangle up and down, normal to the camera axis, to adjust the angle of view of the model. |
Check your results on the right pane of the viewport. |
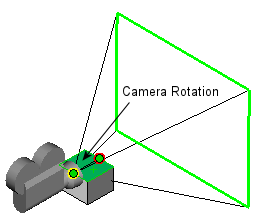
- In the PropertyManager, under Camera Rotation, click Set roll by selection.
- In the graphics area, select a face to prevent camera roll when you drag the camera sled to create the path.
-
Click
 .
.
By using these settings and moving the camera sled horizontally, you can create a camera sled animation in which the camera moves toward the model. Subject to your Field of View settings, you can maintain the model in frame throughout the animation.