The command is available from the Piping and Tubing menus. This topic describes the steps from the Piping menu.
To define spools in a routing assembly:
- Click.
You can also right-click the Route feature
in the FeatureManager design tree and click Define Spools  .
.
The Spools PropertyManager lists the name, color and line styles for the spool and its components.
- In the assembly, select the sketch entities that make up a spool.
Note: All segments and components in a spool must be contiguous. Gaps are not allowed in a spool. Also, you can only define one spool at a time.
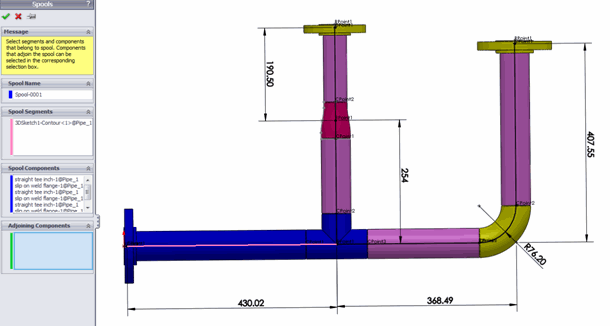
- For adjoining components, click the PropertyManager, and in the assembly, select components that are external to the spool. These components are typically tees and elbows that will be connected to the spool in the manufacturing process.
- Add or remove components by dragging and dropping the entities between Components and Adjoining Components in the PropertyManager.
- Click
 .
.Spools are arranged in folders in the FeatureManager design tree of the route. A display state is also generated for each spool.
The creation of spool drawings, BOMs, import of P&ID data, and export of spool data to
PCF is integrated with the piping and tubing functionality. You can select options for spools
in each of the related PropertyManagers for these functions.