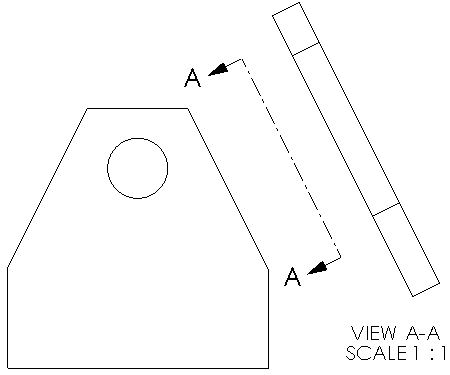
You can specify document-level drafting settings for auxiliary view labels.
To open this page, with a drawing open, click
Options  (Standard toolbar), select the Document Properties tab, and then select .
Overall drafting standard
| Overall drafting standard
|
Inherited from the selected Drafting Standard page settings. |
Base auxiliary view standard
| Base auxiliary view standard
|
Select a standard:
- ANSI
- ISO
- DIN
- JIS
- BSI
- GOST
- GB
|
Line style
 Line Style Line Style
|
Select: a style. |
 Line Thickness Line Thickness
|
Select: a thickness or select Custom size and enter a thickness. |
Auxiliary arrow text
| Font
|
Click to modify the font.
|
| Font
|
Click to modify the font.
|
View Label Text Example

Label options
| Per standard
|
Select to adhere to the base standard. Clear to modify view label parameters:
- Name. Select a title to appear in the view label, or type your own title.
- Label. Select the way the label letter corresponding to the label on the
parent view appears in the view label.
- Scale. Select a label for the scale, or type your own label.
- Delimiter. Select a scale display option:
- To present the scale with two numbers separated by a delimiter select:
- To present the scale as the ratio of two numbers followed by X select # X.
- To hide the scale, select <None>.
- A label display option:
- Stacked. Display the view label with the name and label stacked on top of the
scale.
- In-line. Display the name and label on the same line.
|
| Display label above view
|
Select to display the label above the view. |
Layer
| Layer
|
Select a layer. You must first create layers for the drawing before you can select them for document properties.
|
View label document layer settings override view label Line style settings.