Document Properties - Dimensions

You can specify document-level drafting settings for all dimensions. Available for all document types.

Dimensions that are inserted using Insert Model Items, DimXpert, and other automated methods are placed on predefined locations that radiate out from the drawing view. You set the predefined locations in this dialog box.

To display this dialog box:

In a drawing, click Options (Standard toolbar), select Document Properties, and then select Dimensions.

Overall drafting standard


Overall drafting standard Inherited from the selected drafting standard page settings.

Text


Font

Click to modify the font.


Each time you change the dimension font, the document-level font for each dimension type is updated accordingly.

Dual dimensions

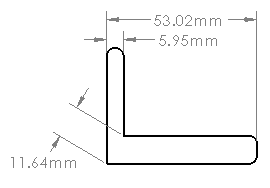
Dual dimensions display Select to display dimensions in dual units.
Show units for dual display Select to display units for the second set of dimensions.
Dimension value position Top
Bottom
Right
Left

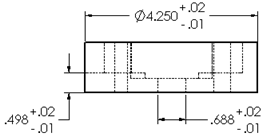
Primary precision

Unit Precision Select the number of digits included after the decimal point for the value.
Tolerance Precision Select the number of digits included after the decimal point for the tolerance.
  Link precisions with model For imported dimensions, sets changes in unit or tolerance precision to be parametric with the model.

Dual precision

Unit Precision Select the number of digits after the decimal point from the list for the value in the secondary units.
Tolerance Precision Select the number of digits after the decimal point for the tolerance values for the secondary units.
  Link precisions with model For imported dimensions, sets changes in unit or tolerance precision for the secondary units to be parametric with the model.

Fractional display

Style, the style for the display of fractional dimensions


Stack size, the size of the stacked fractions expressed as a percentage of the whole portion of the dimension


Show double prime mark ("), the display of double prime marks in fractional dimensions


Include leading zero for values less than 1"  
Fractional dimensions are available only for lengths in IPS (inch-pound-second) units.

Stacked Fractional Dimension Size by Percentage

 
100%
50%

Bent leaders

Leader length Enter the length of the unbent portion of the leader.
Extend to text Leader shoulders extend to meet the end of the line of dimension text.

Arrows

Size

Specify the three arrow size fields.

Select Scale with dimension height to re-scale the arrow size according to the height of the dimension extension line.

Style
Select a style from the list, and click a dimension style type button:

Offset distances

Offset distances

Sets the dimension distances from the model and from each successive location (as indicated by the red dimensions below). Offset distances must conform to the values assigned in Offset distances. The default offset distances are .40 inches (10.16 mm) from the model edge and .25 (6.35 mm) inches between dimensions.

Gaps
For baseline dimensions, specify the offset distances:
  • Between the model and the first dimension extension line
  • Between dimension extension lines
These values also control the spacing between dimensions that are offset from one another and from the model edge when using rapid dimensioning.
Annotation view layout

Select to use offset distances specifications from an annotation view. (See Annotation View PropertyManager.) Clear to enter the gaps.

Break dimension extension/leader lines

Gap

Specify the gap in broken extension and leader lines.

Break only around dimension arrows

Select to display breaks only when the lines and arrows intersect.

To break the dimension lines, select the dimension and click Break Lines in the PropertyManager. When you break dimension lines, they break around nearby lines. If you move a dimension significantly, it might not break around nearby lines. To update the display, clear Break Lines for the selected dimension and click Break Lines again.

Extension lines

Gap

Specify the distance between the model and the dimension extension lines. This value also controls the gap between extension lines and center marks.

Beyond dimension line

Specify the length that the extension line extends beyond the dimension line.


Zeroes

Leading zeros
Standard Leading zeros appear according to the overall drafting standard.
Show Zeros before decimal points are shown.
Remove Leading zeros do not appear.
Trailing Zeros

Dimensions

Show Trailing zeros are displayed according to the decimal places you specify for Units.
Remove Trailing zeros do not appear.
 

Tolerances

Show Displays trailing zeroes up to the number of decimal places applied to each tolerance within the dimension (Bilateral, Limit, and symmetric).
Remove Trailing zeros do not appear.
Remove only on zero

Removes trailing zeroes from each tolerance when the displayed value is zero. Also, when the value of the displayed tolerance is not equal to zero, trailing zeroes are displayed up to the number of decimal places that apply to each tolerance in the dimension.

Same as Dimension  
 

Properties

Show

Displays trailing zeroes up to the number of decimal places applied to each numeric property from the Units page of Document Properties as well as displayed numeric properties in the graphics area or are evaluated in custom properties or other annotations such as notes and tables.

Remove Removes trailing zeroes from each numeric property value.
Same as Dimension  

Options

Show units of dimensions

Select to show dimension units in drawings.
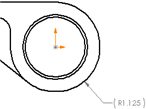
Add parentheses by default

Select to display dimensions within parentheses.
To set the color, click Tools > Options > System Options > Colors. In Color scheme settings, select Dimensions, Non Imported (Driven).
Center between extension lines

Select to center dimensions between extension lines. This option also selects Center Dimension in PropertyManagers that contain the Center Dimension option.

When you drag dimension text between the extension lines, the dimension text snaps between the center of the extension lines.
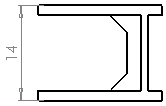
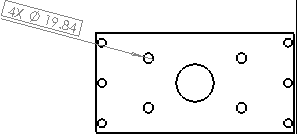
Include prefix inside basic tolerance box

Select to include a text prefix inside tolerance boxes when you specify a prefix.
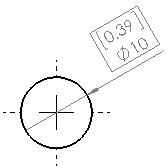
Display dual basic dimension in one box

Select to include dual dimensions in one basic tolerance box.
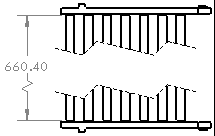
Show dimensions as broken in break views

Select to break dimension lines for break views.
Apply updated rules
Select to update vertical alignment of bent leaders so that shoulders center on appropriate line of dimension text in geometric dimensioning and tolerancing feature control frame. Existing dimensions display unchanged until this option is applied. Once applied, the option is no longer available.
Previous rules
Updated rules

Diameter dimensions created in releases prior to SOLIDWORKS 2015 did not generate extension lines automatically when you placed a diameter dimension on geometry that extended beyond the crop or detail view. Select Apply updated rules to force legacy dimensions to display extension lines on diameter dimensions.

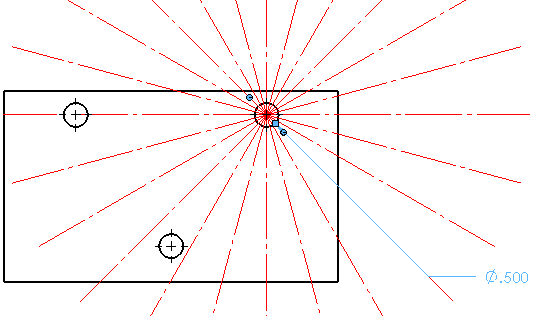
Radial/Diameter leader snap angle

Modify the snap angle intervals used when you drag diameter, radial, or chamfer dimensions along radial locations.
Tolerance

Click to set the tolerance.