On second page of the Sketch Picture
PropertyManager, you can trace outlines or select areas by color to create vector data by
using the Autotrace tool. This tool creates a sketch that you can save and edit.
Use this tool to convert:
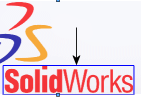
- Company logos
- Scanned geometric designs:

The second page of the Sketch Picture
PropertyManager is available only by enabling the Autotrace tool as an add-in. Click
and select Autotrace in the
dialog box.
From the first page of the PropertyManager, click  , and in the second page, apply these parameters to
convert raster data to vector data:
, and in the second page, apply these parameters to
convert raster data to vector data:
Trace Settings
| |
Selection Tools |
|
Use to select rectangular areas

|
Select rectangular areas.
|
|
Use to select freehand areas

|
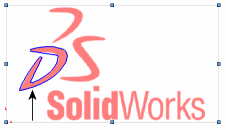
Select irregularly shaped areas by tracing consecutive straight and curved
lines.

|
|
Use to select polygonal areas

|
Select polygonal areas by tracing consecutive straight lines.

|
|
Use to select color 
|
Select area based on color.
|
|
 |
|
Indicates the color selected with the Use to select color
selection
tool. |
| |
Begin Trace |
Displays the results of the area or color selection. |
Preview Settings
| Show source image |
|
| Show traced geometry |
Select or clear to display the traced geometry selected for conversion. |
 |
 |
| Show source image selected |
Show source image and
Show traced geometry selected |
 |
| Show source image cleared and Show traced geometry selected |
Adjustments
All sliders adjust the level of the source image.
Apply
| Apply |
Click Apply to validate the trace geometry. |
The trace geometry does not become SOLIDWORKS geometry that you can save as a .sldprt file until after you exit the Sketch Picture PropertyManager.