| |
3D annotations (Annotations toolbar) |
Insert annotations into a part or assembly document. The 3D annotations are organized into annotation views that correspond to the model's orthographic views, such as front, bottom, etc. You can then use the annotation views in a drawing. The annotation views are converted into 2D drawing views; the annotations you inserted in the model are retained in the drawing. |
 |
Model Items (Annotations toolbar) |
Insert dimensions, annotations, and reference geometry from a part or assembly document into a drawing in one operation. You can specify all dimensions or only those marked for drawings. |
 |
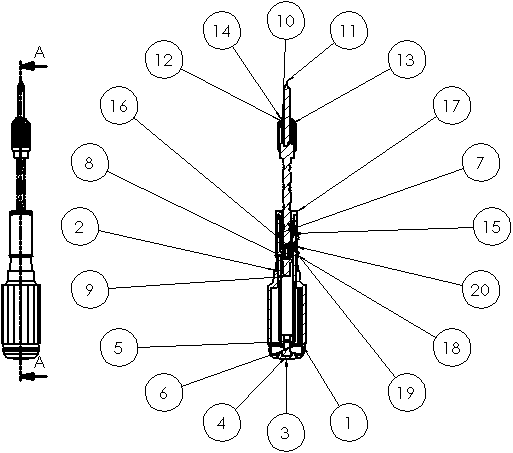
Auto Balloon (Annotations toolbar) |
Add balloons to all components in a drawing view in one operation, choosing a layout and balloon style, size, and text.

|
 |
Smart Dimension, Autodimension (Dimensions/Relations toolbar) |
Insert horizontal and vertical reference dimensions into drawing views as baseline, chain, or ordinate dimensions. |
 |
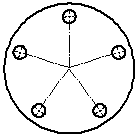
Center Marks (Annotations toolbar) |
Add center marks to all appropriate entities in a drawing view in one operation, choosing single, linear, or circular style, mark size, extended lines, font, angle, and named layer.

|
 |
Centerlines (Annotations toolbar) |
Add centerlines to all appropriate entities in a drawing view in one operation.

|