| Basic |
Adds a box around the dimension text. In geometric dimensioning and tolerancing, Basic indicates the theoretically exact value of the dimension. 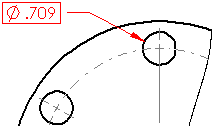
|
| Bilateral |
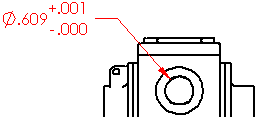
Displays the nominal dimension followed by separate upper and lower tolerances. In  and and  , set values for the amounts over and under the nominal. , set values for the amounts over and under the nominal.
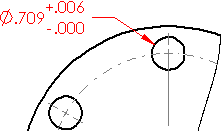
|
| Limit |
Displays the upper and lower limits of the dimension. In  and and  , set values for the amounts over and under the nominal. The tolerance values are added to and subtracted from the nominal. , set values for the amounts over and under the nominal. The tolerance values are added to and subtracted from the nominal.
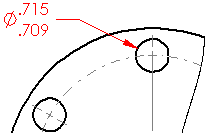
|
| Symmetric |
Displays the nominal dimension followed by the tolerance. In  , set the same value for the amounts over and under the nominal. , set the same value for the amounts over and under the nominal.
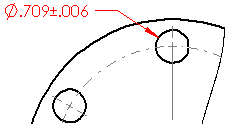
|
| MIN |
Displays the nominal value with the suffix MIN. 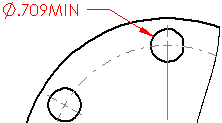
|
| MAX |
Displays the nominal value with the suffix MAX. 
|
| Fit tolerances |
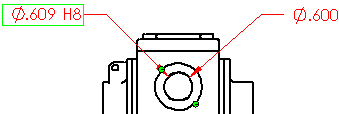
Sets the tolerance by Classification and alphanumeric values. In this example:
-
Tolerance Type
 = Fit = Fit
- Classification
 = Clearance = Clearance
- Hole Fit
 = H8 = H8
|
| |
Sets the tolerance of the shaft using the Shaft Fit value g5. 
|
| |
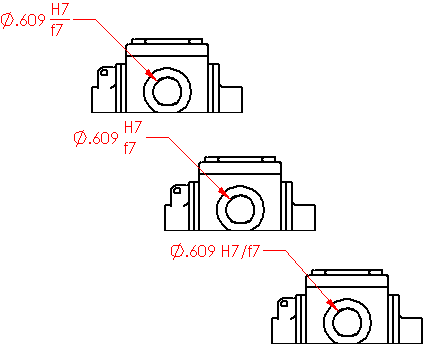
Combines the fit tolerances into a single dimension with:
-
Stacked with line display

- Stacked without line display

- Linear display

|
| |
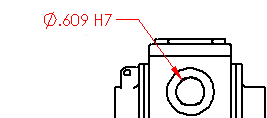
Uses Fit with tolerance to display the tolerance value. Using Hole Fit  and Shaft Fit and Shaft Fit  define the tolerance values automatically. define the tolerance values automatically.
|
| |
Uses the Fit values without displaying them by setting Tolerance Type  to Fit (tolerance only). to Fit (tolerance only).
|