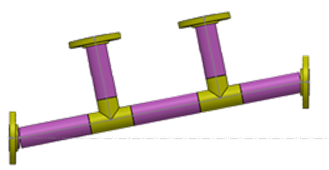
To add a slope to a pipe route:
-
Open a routing assembly and click
 (Routing toolbar).
- Right-click the sketch entity at the location where you want to add the slope and select Add Slope
 .
.
- In the Pipe Slope PropertyManager, under Route Segments, select the route segments to slope. They must be axially aligned with the first segment.
- In the graphics area, drag and drop fittings to the route segments from the Design Library or Routing Libraries.
You cannot add a fitting to a slope if the fitting has been fixed or has an external mate that
prevents the fitting from moving.
- Select the Gravity Plane.
The route segments must be on that plane.
- Select a Start Point.
The start point must be a fixed point that the route segments can use to rotate and create the slope.
- Enter the rotation angle of the Slope, expressed as a ratio or as an angle dimension in degrees.
- To add a weld gap, select Weld Gap
 and select the segments from the Route Segments box in the PropertyManager.
- To set an override for the weld gap, select Override default gap and specify a value.
- Click Pin
 at the top of the PropertyManager, and then click
  to add a slope and leave the PropertyManager open.
The slope is added to the route segments.

You can edit the slope by selecting a route segment and right-clicking
Edit Slope 
. To remove the slope, right-click the segment and select
Remove Slope 
. You can also annotate slopes in drawings and BOMs.