SOLIDWORKS Electrical 3D
- Exercise #07
To do this exercise, you have to download a electrical project containing
all the required environment. After the download, unarchive the electrical
project.
Harness routing
Flatten route
Importing the 2D file
in the electrical project
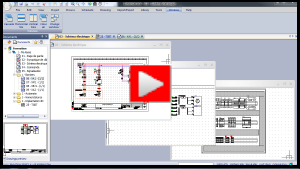
The goal of this exercise is to route a harness in which you can find
connectors, wires, and a cable. To understand the composition of this
harness open or preview the two schematic drawings and open the Harness management to see the details
of the harness.

|
SOLIDWORKS Electrical 3D
menu: Harnesses
Dockable panel > Contextual menu of the electrical project:
electrical project >
Harness management |
This electrical project uses five connectors (X1 to X4) linked by a
harness with wires and a cable.
Harness routing
1. After unarchiving
the downloaded electrical project, open the 06-Box
assembly.
The assembly already contains the inserted connectors and
the Route Path for the
harness routing, it is not necessary to add them. |
2. Launch the
harness routing with the default parameters.

|
SOLIDWORKS Electrical 3D
menu: Route Harnesses
Menu: Tools > SOLIDWORKS Electrical
> Route Harnesses |
Flatten route
The first step after the harness routing is to generate
the flatten route. |
1. Generate
the flatten Route file.

|
Electrical
menu: Flatten Route |
2. Select the
Annotation mode.
3. Active the
Drawing Options and select all.
4. Generate
the sheet and organize the graphics of the harness and the tables.
Importing the 2D
file in the electrical project
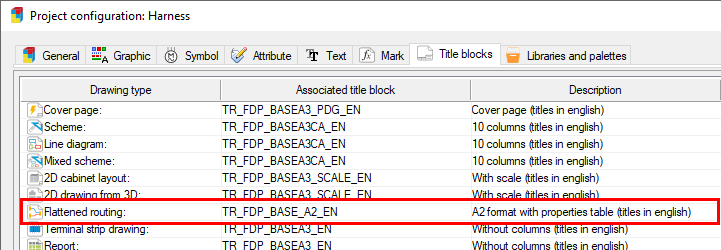
The sheet format must coincide with one selected in the
electrical project configuration. |
1. Update the
electrical project configuration by selecting the correct title block.
2. Generate
the drawing.

|
SOLIDWORKS
Electrical Drawing menu: Create Project Drawing |
The drawing is automatically added to the electrical project. |