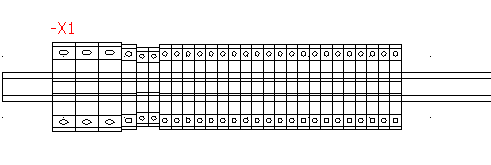
Insert terminal strip
Terminals are inserted same way as devices, except that you can insert
the terminals one by one or insert all terminals for a terminal strip.

|
Menu: Cabinet layout >
Insert terminal strip
Contextual menu of the terminal strip: Insert
terminal strip
Contextual menu of the terminal: Insert |
If the command has been launched from the ribbon, the terminal strip
selector dialog box opens to select the one you want to insert.
The dockable panel is modified when a terminal strip is inserted.
The insertion of one terminal is similar to the component insertion.
As well as this, you can insert terminals strip accessories by using the
component insertion feature (contextual menu).
Specify the symbol to insert
1. Click on
Other symbol to select another
symbol apart from the one suggested.
Options
Selected terminal strip: Select
the terminal strip to be inserted.
Space between terminals: Enter
the offset value between each terminal.
Position of next terminal: Select
the direction of terminal insertion in relation to the first terminal.
Hide background: Select this
option to hide elements placed behind the one currently being inserted.
Insert only base manufacturer part:
This option allows you to insert or not the accessory terminals.
2. Click on
the insertion point of the first terminal.
The terminal is inserted according to the rail orientation. If the rail
is horizontal, the terminal is vertically inserted and if the rail is
vertical, it's inserted horizontally.
The following terminals are automatically inserted relative to the first
terminal (except if you have inserted only one terminal).

Copying terminals that already exist in the graphical interface automatically
creates new terminals. They belong to the same terminal strip as the original
terminals.