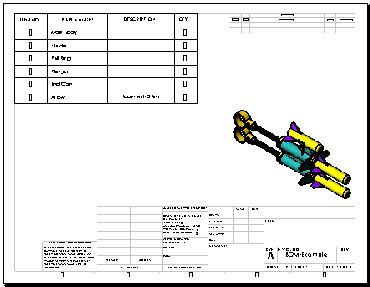
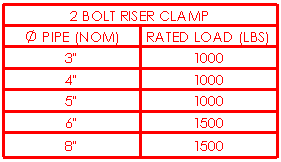
You can specify formatting for a General Table, Bill of Materials, Hole
Table, Revision Table, or Weldment Cut List.
To specify formatting for a table:
- Click the upper left corner of a table.
- Specify the formatting described below, then click
 .
.
The items listed below are not applicable to all tables.
Table Position
The stationary corner controls the direction in which the table
expands when adding new columns or rows.
Set the Stationary corner to:
 |
Top
Left |
New columns extend to the right
and new rows extend below the anchor point. |
 |
Top
Right |
New columns extend to the left and
new rows extend below the anchor point. |
 |
Bottom
Left |
New columns extend to the right
and new rows extend above the anchor point. |
 |
Bottom
Right |
New columns extend to the left and
new rows extend above the anchor point. |

|
Attach to anchor point
|
Attaches the specified corner to the table anchor.
|
You cannot delete an anchor point. You can reset an existing anchor point. In the
FeatureManager design tree, expand Sheet Format, right-click
the anchor type that you want to specify and select Set
Anchor. Then click in the graphics area to specify the new position
for the anchor.
When you do not attach a table to an anchor point, you
can drag it to endpoints or lines in the sheet format.
The Stationary corner option is not available when you
first create the table. If the table is anchored on creation, the stationary corner
is automatically selected on the drawing sheet in the quadrant nearest the table
anchor.
Header
| Title |
Edit the table header title if Display title is selected.
|
| Display title |
Displays the text in Title in a header row across the width of the table.
|
| Position |
Set the title location to Table Header Top  or Table Header
Bottom or Table Header
Bottom  . . |
Border
 |
Box
Border |
Sets a line thickness for the
outside border of the table. |
 |
Grid
Border |
Sets a line thickness for the
inner gridlines of the table. |
Layer
In drawings with named layers, select a layer. The table assumes the layer color.

Text Format
| All
uppercase |
Select to specify that all
characters in the table are uppercase. |