This topic explains the options in the Print
tab.
Print Configuration
Lets you select a previously created print configuration file to load preferred print
settings. Click … to access Print configuration
management.
Page Settings
- Name: Select the printer you want to use. Click
Properties if you want to access the Windows
printer parameters.
- Paper format: Select the predefined paper format
managed by the printer.
- Source: Select the paper source to use.
Orientation
- Portrait/Landscape: Select the page orientation.
- Plot with symmetry: Select this option if you want to
print the graphical entities with symmetry.
Drawings
- All/Selection: Lets you choose to
print all the drawings of the electrical project or a selection. Click
… to select the drawings. For
more information, see Document Selector.
- Invert print order: Select this option to print the
drawings in reverse order from last to first.
Scale
Select a pre-defined scale ratio or enter a specific ratio (Unit printed = Drawing
unit). When you select a predefined ratio, two fields display the printed and
drawing units. Fit to format scales the graphical entities to
fit into the selected paper size.
Copies
- Number of copies: Defines the number of copies to
print.
- Collate: (Available if you select more than one copy)
Lets you assemble the printed drawings.
Plot Area
Defines the drawing area to print.
- All geometry: Area defined by the bounding box of all
visible entities.
- Drawing boundary: Area defined by the grid zone in
drawing parameters.
- Current view: Area visible on the screen or the
current view when drawing is saved.
Plot With Style
Each screen color used on the graphical entities corresponds to a color and a
thickness on the paper. If you do not use a Plot style
table, the screen colors and line thickness will be the same on the
paper. You can define a personal correspondence using plot style tables. For more
information, see Modifying Plot Styles for Printing.
In the list, select the plot style table you want to use. To edit the plot style
table, click Modify plot style table file. A dialog box opens
to let you associate each screen color with a printed color and thickness. In the
plot style table list, if you select None, you can select
Plot with line thickness. The colors and line thicknesses
will be the same on the screen and on the paper.
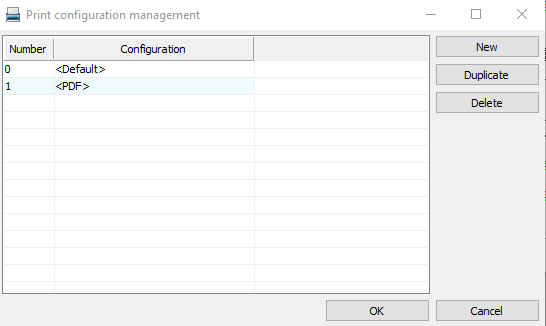
Print Configuration Management
To access the Print configuration management dialog box, click : .
If you have several different configurations for printing drawings, select a
configuration file from the list and select the drawings to print with this
configuration. Repeat this operation as required with other configuration files.
Click Print several configurations and verify the
configurations you want to print with.
Use New, Duplicate, and
Delete on the right of the dialog box to create, copy, or
delete configuration files.