A part is a grouping of one or more surfaces in a model. Each surface is also a part, which can be composed of smaller pieces. Surfaces do not have to be physically next to each other to be grouped together or to constitute a single part.
Sometimes you need to extract individual surfaces or several surfaces
from the part to which they are assigned for greater flexibility with appearance
assignment or animation.
Splitting is essential because you cannot assign appearances to faces (or to anything
in the hierarchy lower than the part level). If you want to assign multiple
appearances to a single part, splitting is required.

To split parts:
-
Do one
of the following:
- Click .
- In the viewport or Palette, right-click a part and click .
- Press CTRL+ALT+P.
-
In the
dialog box, specify the Selection
Mode:
| Option |
Description |
| Facet |
Lets you click part facets to split.
Adjust the Facet Angle
Tolerance to specify the part
tolerance. You can also use box selection in
Facet
mode.
|
| Paint Brush |
Lets you click and drag to select multiple
part facets to split. Adjust the Paint Brush Radius to fine tune the
selection area. |
| Show Only Active
Part |
Displays only the split mesh and the part
undergoing the split instead of the entire part. Remaining
geometry is hidden or rendered in gray wireframe. |
-
In the
viewport,
click a face or drag a selection area to see a preview of the split
part.
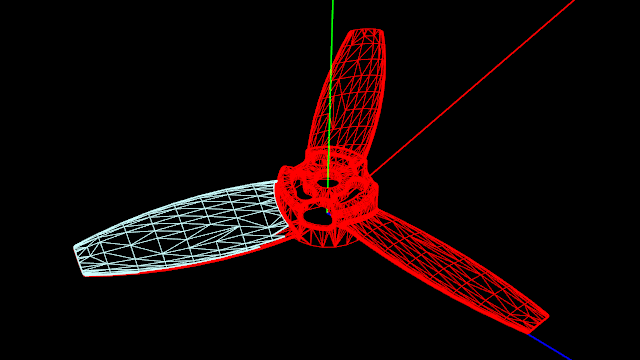
The split mesh changes to a blue wireframe and the part undergoing the
split turns to a red wireframe.
- Optional:
Press
SHIFT to remove portions from the
mesh selection or CTRL to add portions to
the mesh selection.
-
Click
Execute
Split.