Symmetry Check
Symmetry Check  checks for geometric symmetry in parts about a plane. It
identifies symmetrical, unsymmetrical, and unique faces.
checks for geometric symmetry in parts about a plane. It
identifies symmetrical, unsymmetrical, and unique faces.
In parts with multiple configurations, Symmetry
Check works with the current configuration only. Once you identify
symmetrical entities, you can work on a portion of the model, which saves
you design time and increases performance.
Type of Check
Manual Face Check
Automatic Symmetry Split. Reduces
a part to its smallest repeatable symmetrical body, which is especially
useful when you run analyses using simulation software.
Analysis parameters
Defined by. Defines how to define
the plane of symmetry.
Points. Lists the items selected
to define the plane of symmetry.
Check. Checks for symmetry about
the plane and lists results under Symmetry
Check results.
Color settings
Set colors used to show Unique faces,
Symmetric faces, and Unsymmetric
faces. After you check for symmetry, these face types appear under
Symmetry Check results.
Symmetry Check results
When you click Check under Analysis parameters, the results appear
here. Click listed faces to highlight them in the graphics area.
Save report. Saves the results
in an HTML report.
Recheck. Clears the results
so you can run a new symmetry check.
Symmetry Check Results - Examples
|
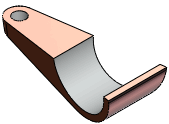
Unique faces. Exist on only
one side of the plane of symmetry and do not contact it.
SideA
and SideB
are on opposite sides of the plane of symmetry. |
|
|
Cut faces. Contact the plane
of symmetry.
Symmetric cut face
Unsymmetric cut face |
|
|

|
|
Uncut faces. Do not contact
the plane of symmetry. Faces are shown in pairs.
Symmetric uncut face
Unsymmetric uncut face |

|
|
|
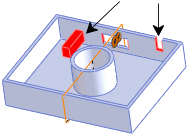
To check for symmetry in parts:
Click Symmetry
Check (Tools toolbar) or Tools,
Symmetry Check.
In the PropertyManager, select a Type
of Check:
Manual Face
Check
Set the Analysis
parameters.
Click Check.
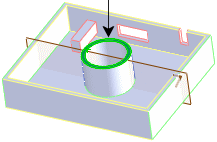
View the Symmetry
Check results.
Save a report, click
Recheck to run a new symmetry
check, or click  .
.
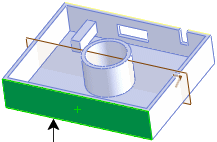
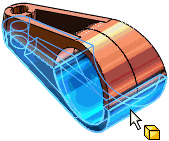
Automatic
Symmetry Split
Hover over areas of
the model to preview the smallest symmetrical bodies to which you can
reduce the part.
Select a body.
The body name appears under Body
for Split.
Click Split
Part.
The model is reduced to the selected body.
A Split feature appears in the
FeatureManager design tree.