The Wrap feature lets you create geometry on any face type. Not only can you wrap a sketch on all face types, you can wrap a sketch on multiple faces.
Previously, the Wrap feature only handled cylindrical and cone shaped faces, and you could only work on a single face at a time.
You can choose between two methods to create a wrap. The
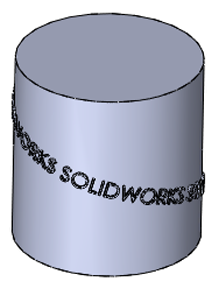
Analytical method preserves legacy behavior where you can wrap a sketch completely around a cylinder or cone. The
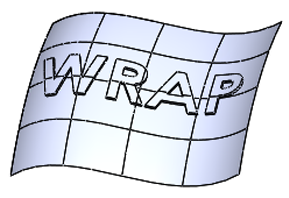
Spline Surface method wraps a sketch on any face type. A limitation with this method is that it cannot wrap around a model.
 |
|
 |
| Analytical method |
|
Spline Surface method |
The PropertyManager and the preview have also been redesigned. The options in the PropertyManager are listed in a more logical order with large icons to help you distinguish between the various wrap types available. The preview displays a dot guide to show where a wrap starts from on a target face.
To create wrap geometry on any face:
-
Open drive letter:\Users\Public\Public Documents\SOLIDWORKS\SOLIDWORKS 2017\whatsnew\parts\iron.sldprt.
- Click Wrap
 (Features toolbar) or .
- In the graphics area, select the SOLIDWORKS sketch.
- In the PropertyManager:
- For Wrap Type, click Emboss
 .
.
- For Wrap Method, click Spline Surface
 .
.
- Select the faces along the top handle of the iron. There are a total of six.
- In the PropertyManager, under Wrap Parameters, set the Thickness
 to 2mm and click
  .
.
If you want to make the wrap feature stand out, you can change its appearance by coloring the decal or turning the edges on or off.