Your options for saving a selection set depend on whether you are working in a part or an assembly.
In a part, Save Selection is available at the top of the context-sensitive shortcut menu, and under Features.
In an assembly, Save Selection is also available under Components.
Where you choose Save Selection determines the display of the saved selections in the FeatureManager design tree:
| At the top of the menu |
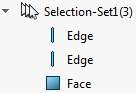 |
| Under Features |
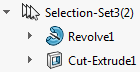 |
| Under Components |
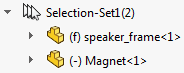 |
To create selection sets: