Projected View
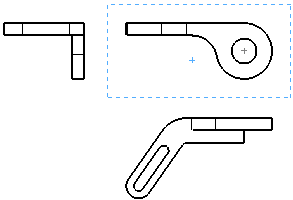
Projected views are created by
folding off an existing view in one of eight possible projections. The
resulting view orientation is affected by the setting of First
angle or Third angle projection as defined in the drawing sheet properties.
Projected views are created for
orthogonal views with the following tools:
 Standard 3 View.
The Front view is a model view
and the other two views are projected views, using First angle
or Third angle projection as specified in Sheet
Properties.
 Model View.
When inserting an orthographic (front, right, left, top, bottom, and back)
model view, the Projected View
PropertyManager appears so you can insert projected views from any orthographic
views on the drawing sheet.
 Projected View. Insert projected views from any orthographic
view.
You can create a projected view of an exploded assembly view, but not
from a detail view.
|

|

|
|
Projected view from a projected view |
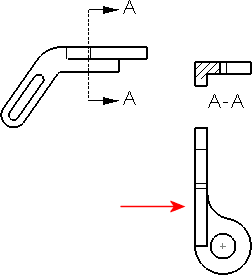
Projected view from a section view - the entire part is
shown |
To create a projected view:
-
Click Projected View  on the Drawing toolbar, or click Insert,
Drawing View, Projected.
The
appears.
In the graphics area, select a view from which
to project.
To select the direction of projection, move the
pointer to the appropriate side of the selected view.
As you move the pointer, a preview of the
view is displayed if you selected Show contents while dragging drawing view.
You can also control the alignment
of the view.
In this example, the projected view is to
the right of the selected view.

When the view is where you want it, click to place
the view. The projection view is placed on the sheet, aligned to the view
from which it was created. By default, you can move a projection view
only in the direction of the projection. You can change
the alignment of the view if necessary.
Related Topics
Auxiliary
views
Relative to model views