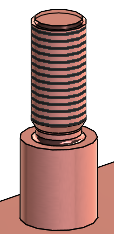
In this
example, you create a new stud on a planar surface. You can also create a stud on an
existing cylindrical stud that you can then modify.
To create
external threaded studs:
-
In a part,
click Stud Wizard
 (Features toolbar) or
 .
.
-
In the PropertyManager, click Creates Stud on a Surface
 .
.
-
On the Stud
 tab:
tab:
-
Under Shaft
Length
 , specify a
value.
-
Under Standard,
select a standard, the Type of
thread, and the thread Size. The
Major Diameter
 value is based on the
Size.
-
Under Thread,
for End Condition, select
Blind and specify the
Thread Depth
 .
.
-
To add an external Thread
class, select the check box and a class.
You can access this information in drawings.
-
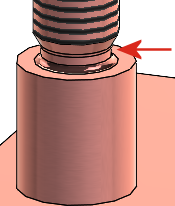
To add an Undercut, select the check box and specify the
Undercut diameter
 , Undercut depth
 , and Undercut radius
 .
.

-
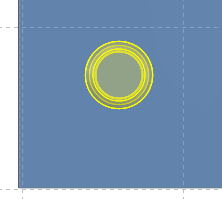
On the Position
 tab, select the face to
position the stud.

You can position only one stud per feature.
-
Click
 .
.

To view the threads, click and under Display
Filter, select Cosmetic
threads or Shaded cosmetic
threads.