The Hole Wizard PropertyManager appears when you create a new Hole Wizard hole.
To open this PropertyManager:
Create a part, select a surface, and click Hole Wizard  (Features toolbar) or .
Two tabs appear:
- Type (default). Sets the hole type parameters.
- Positions. Locates the Hole Wizard holes on planar or nonplanar faces. Use dimensions, sketch tools, sketch snaps, and inference lines to position the hole centers.
You can switch between these tabs. For example, select the
Positions tab and locate the holes, then select the
Type tab and define the hole type, then select the
Positions tab again to add more holes.
- To add different hole types, add them as separate Hole Wizard features.
- The available PropertyManager options depend on the hole type selected in Hole Specification.
Positioning Hole Wizard Holes
When you activate the Positions tab, the first sketch point and a shaded preview of the
hole follow the pointer until you click to place the hole. As you move the pointer
about the screen, you can take advantage of sketch snaps and inference lines to
place the point precisely.
You can also use dimensions and other sketch tools to position the
hole centers. You can consecutively place multiple holes of the same type. The Hole
Wizard creates 2D sketches for holes unless you select a nonplanar face or click
3D Sketch.
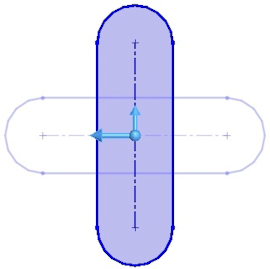
To rotate slots by 90°, press the
Tab key.