Use the Smart Weld Selection Tool to select faces to which you want to apply weld beads. The tool is available in the Weld Bead PropertyManager.
All weld beads have a weld path. The weld path is the course that the bead follows around the model.
When you create weld beads, two methods are available to specify where to apply weld beads:
-
Manual. Select edges or faces. You must click New Weld Path in the Weld Bead PropertyManager each time you create a new weld bead that has a disjoint weld path.
- Smart Weld Selection Tool
 . Drag the pointer over the faces where you want weld beads. The software automatically creates new weld paths if you create a disjoint weld path.
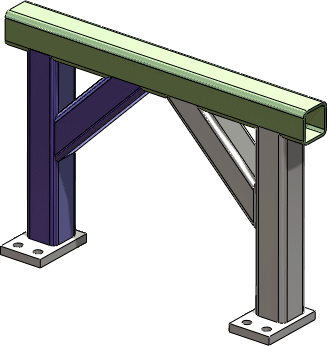
For example, consider the following weldment part.
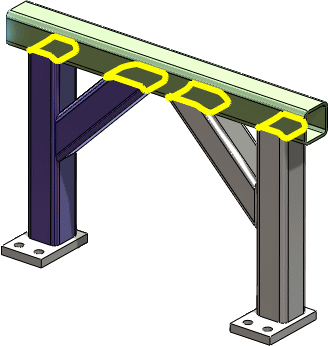
| You want to create weld beads between each of the four support beams and the main beam. |
 |
| There are four weld paths that you need to create. |
 |
Manual Selection
You can select two faces (or one edge), apply the weld bead, then click New Weld Path to create each additional weld path. If you do not click New Weld Path, a message tells you that the selected edge cannot form a continuous chain with the previously selected edges. In other words, the selection would make a disjoint weld path.
Smart Weld Selection Tool
You can drag the pointer over each pair of faces. The software automatically creates new weld paths because it recognizes that the paths are disjoint between each weld bead.
Video: Smart Weld Selection Tool