Scene Editor - Background/Foreground Tab
You can add images, colors, or textures to the background or foreground
of a rendered scene.
To edit the background and foreground properties:
Click Scene
 (PhotoWorks toolbar), click PhotoWorks,
Scene, or right-click a scene
in the Render Manager Tab
  and select Edit Scenery.
 You can also select the Appearances/PhotoWorks
  tab to display scenes in the Task Pane.
On the Back/Foreground tab, set the following properties:
Background
The area that is not covered by the model or the scene is the background.
Backgrounds include:
None.
Sets a black background.
Plain.
Sets a constant background color. To edit the background color, click
the Color box and select
from the Color palette.
Gradient.
Sets a graduated blend between two background colors appearing at the
top and bottom of the image. To edit the background colors, click the
Top Gradient Color and the Bottom Gradient Color boxes and select
from the Color palette.
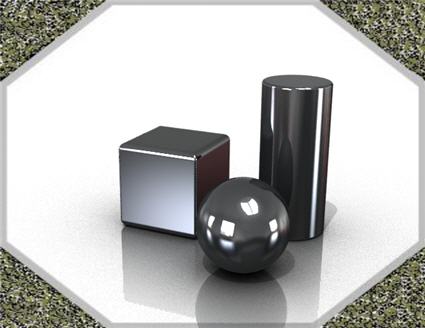
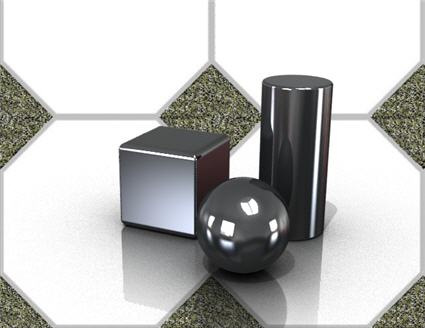
Image.
Displays a background image from a file. Click Browse,
then select from the following:
|
|
|
|
Scaled Image.
Scales the image. |
Tiled Image. Tiles
the image. |
|
|
|
|
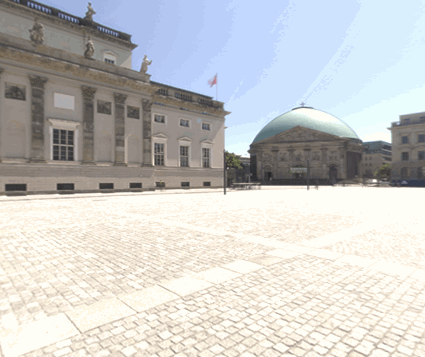
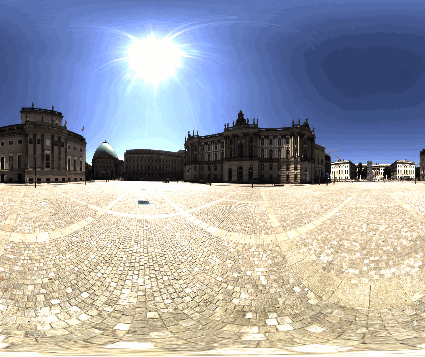
Spherical Image.
Creates a curved image. |
Spherical Image, scaled. |
|
|
 To display spherical images, from the Scene
Editor, select the Room
tab and clear Visible for all
instances of Name.
You can also select
Cubic Image, which creates reflections
using the six projected faces.
System
Colors. Used with Plain and Gradient,
sets colors based on the application's system colors.
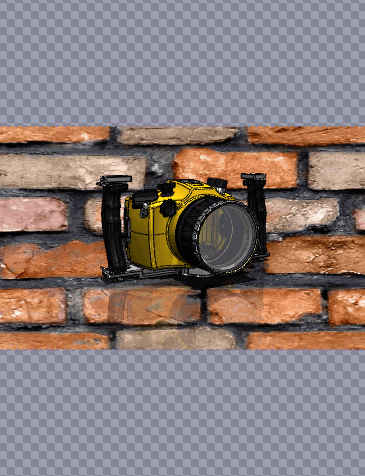
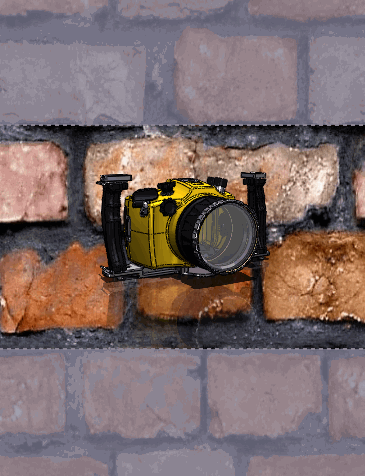
Fit
background image to camera field of view.
Used with scaled or tiled planar images only. Scales the background image
to fit the field of view background. When cleared, fits the background
image to the graphics area.
|
|
|
|
Fit background image to field of view |
Fit background image to graphics area |

Foreground
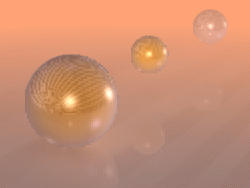
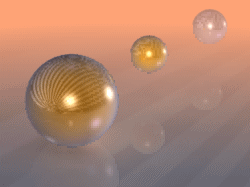
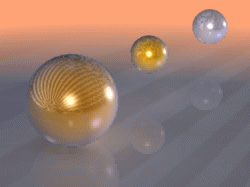
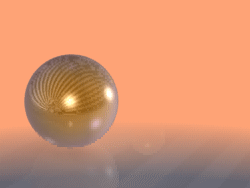
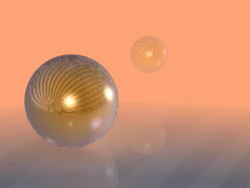
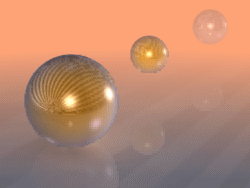
Foreground properties allow you to simulate a fog effect in any color.
Foreground clips the model by adding a plane at a specified distance from
the viewing position. The result, simulating an object enveloped by fog,
is different from adding fog using spot lights.
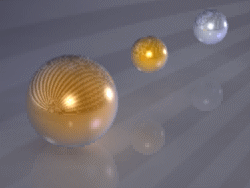
 Use the camera to control
the view position relative to the model. When using a camera, the Start Distance and Opaque
Distance are measured from the camera.
Between the Start Distance and
the Opaque Distance, the resulting
color is linearly interpolated between the color of the model and the
Sky Color.
|
|
|
|
|
Start Distance
250 |
350 |
450 |
|
Opaque Distance
550 |
|
|
|
|
|
|
|
Start Distance
350 |
|
Opaque Distance
400 |
425 |
500 |
-
Click Apply to accept the
changes, then click Close to close
the dialog box.
 PhotoWorks applies the changes when you
click Apply. You do not have to
close the dialog box before you render.
Related Topics
Scene Editor
- Manager Tab
Scene editor - Room
Tab
Scene Editor
- Environment Tab
Scene
Editor - Lighting Tab