Predefined Views
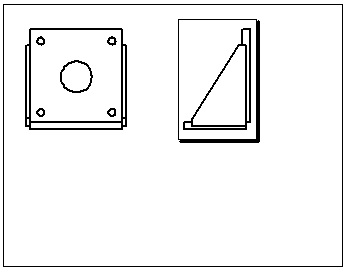
You can use predefined views like named views to preselect an orientation, position, and scale for views on a drawing template. You can add the model or assembly reference later using Insert Model in the PropertyManager.
You can save a drawing document with predefined views as a document template.
To insert a predefined view into a drawing:
-
In a drawing document, click Predefined View  on the Drawing toolbar, or click Insert, Drawing View, Predefined.
-
Click in the graphics area to place the view.

-
Set options in the PropertyManager.
-
Click OK  .
.
 You can populate the view as you insert it, or you can populate it later.
You can add
Projected Views
to a predefined view. For example, if you insert a front view, you can project top and right views to create a predefined
Standard 3 View
. Projected views are automatically oriented and aligned to the original view. The projected views act as predefined views.

You can copy and paste predefined views.
To populate predefined views:
-
Drag. Drag a model from the FeatureManager design tree of an open part or assembly document into the drawing document. All available predefined views are populated.
-
Insert Model. Right-click in a predefined view and select Insert Model. Do one of the following:
-
-
In the Insert Model PropertyManager, select a model from the Open documents list, or click Browse and browse to a model file.
-
Select a view containing a model.
-
In another window, select the model from the graphics area or FeatureManager design tree.
The view and all its related views (such as projected views) are populated when you click OK  .
.
-
Select or Browse. Select a predefined view. In the PropertyManager, under Insert Model, select a name from the Part/Assembly list of models open in the current session, or click Browse and browse to a model file. The view and all its related views (such as projected views) are populated when you click OK  .
.
