-
Open a new part, sketch a profile, and create a base feature.
- Create the features you want to have in the library feature.
When you create a part that includes multiple extruded features that you want to save as a library feature, make sure that Merge result is selected. This ensures that all features are included when you drag the library feature to a model.
- Determine how you want to position the library feature when you add it to a model:
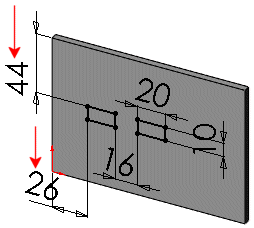
- Using References - Dimension the features to the base.

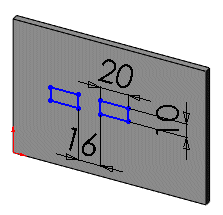
- Using Location - Exclude any dimension or relations between the features and the base.

- After you create the features, add any additional configurations.
- Close the sketch and do the following:
- Click the Design Library
 tab to open the Task Pane.
- Click
 to pin down the Task Pane, and select Design Library
  .
.
- Browse to the folder where you want to add the library feature.
- Press Ctrl and in the FeatureManager design tree, select the features you want to save as a library feature.
Do not include the base feature as a part of the library feature. If you include the base feature, the base will be part of the library feature (*.sldlfp) when you drag it to a model.
- Drag the features to the lower panel of the Task Pane.
Excluding some of the features can cause rebuild errors in the library feature part because of unresolved dependencies.
- In the Add to Library PropertyManager, type the file name and (optionally) any of the following:
- Type a description.
- Click References to display the Save As with References dialog box.
- Click
 .
.
After creating a library feature, you can adjust the references and dimensions.
If you close the model, you are prompted to save the part. The library feature is already saved, so you can close the model without saving it to an .sldprt extension.