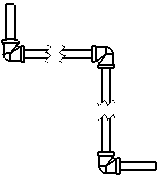
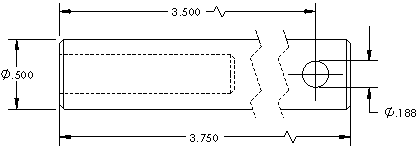
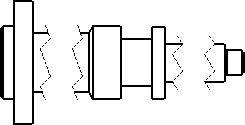
You can use a break (or interrupted) view in a drawing. Break views make it possible to display the drawing view in a larger scale on a smaller size drawing sheet. You create a gap or break in the view using a pair of break lines. Reference dimensions and model dimensions associated with the broken area reflect the actual model values.

Break views include the following functionality:
- You can specify the gap between the break lines and the extension of the lines beyond the part geometry in Document Properties - Detailing.
- Dimensions that cross the break lines are broken automatically.

- You can lock break lines in place. After breaking the view, dimension the break lines to a known portion of the geometry. These dimensions are only for use in the drawing document and do not appear on a printed drawing.
- You can specify the line font for the break lines in .
- You can display dimension lines with a zig-zag by selecting Show dimensions as broken in break views in Document Properties - Dimensions.
- You can apply the Break View and Un-Break View commands to multiple views.
- You can use multiple break lines in a view using any combination of horizontal or vertical break lines. All breaks use the same gap and break line style.

- Break views of flat pattern sheet metal parts include bend lines.
- You can combine a break view with one or more section views to create a rotated section (revolved section) view.
Example: Break View Locked