When you model a structural member as a beam, the software automatically creates a local
coordinate system for the beam. The software lists the beam forces and stresses based on the
beam's local coordinate system.
To view a beam's coordinate system:
- In the Simulation study tree, right-click a beam definition, and click
Edit Definition. Select Show beam
direction.
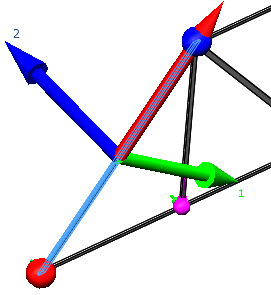
A red arrow shows the positive axial direction, a green arrow shows the positive
direction 1, and a blue arrow shows the positive direction 2 for the selected beam. The
software plots the local triad on the center of a beam.

The axial direction goes from End 1  of the beam to End 2
  . The software assigns Direction 1 (Dir 1) and Direction
2 (Dir 2) depending on the section geometry. Dir1 is parallel to the longest straight
edge of the beam cross section. If the longest edge is curved, then Dir 1 is tangent to
the curved edge. Dir 2 is normal to Dir 1 counterclockwise.
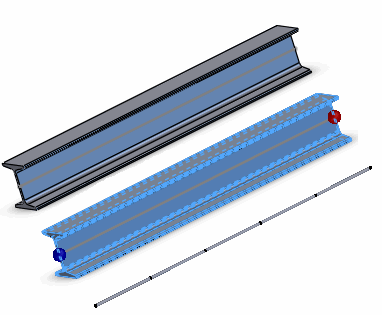
For example, see the beam direction assignments for different cross
sections below.
The software creates a number of beam elements for each beam definition.

After running a simulation with beams, the software lists the beam forces (axial, shear
dir 1, shear dir 2, moment about dir 1, moment about dir 2, and Torque) and beam
stresses according to the beam's local coordinate system.
See also topics
Simulation Help:List Beam Forces and
Beam Diagrams PropertyManager.
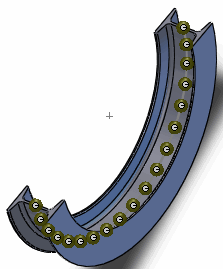
For curved profiles, the software creates a number of short straight beams
to approximate the geometry. Each beam element has its own local directions. For
example, the axial direction for each beam on the swept section shown below is defined
by the straight line connecting its two joints. In the graphics area, one coordinate
system is shown at the middle of the beam.
