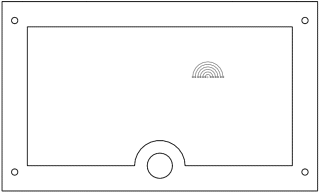
You can insert a DXF or DWG file directly into the SOLIDWORKS document. The DXF file that you insert in this lesson contains the company logo for a fictitious company, Rainbow Corporation. The gasket file should still be open.
-
Click Hidden Lines
Removed
 .
.
-
Click Front
 on the
Heads-up
View
toolbar.
- In the graphics area, select the front face of the gasket.
- Click .
-
In the dialog box, browse to where you saved the
tutorial sample files, select rainbow.dxf, then click Open.
- In the DXF/DWG Import dialog box, select Import to part as and 2D sketch, then click Next.
- In the DXF/DWG Import - Document Settings dialog box, clear Add constraints, to solve all apparent relations and constraints in the sketch, then click Next.
- In the DXF/DWG Import - Drawing Layer Mapping dialog box, select Merge points closer than and accept the distance of 0.001. This option merges points that, after import, are within a specified merge distance.
- Click Finish.
-
Click Rebuild
 .
.
A new sketch that contains the company logo is created
in the part.
