Insert devices
There are two ways to insert devices: either by using the pop-up menu
for the manufacturer part or by double-clicking on the manufacturer part.
Inserting devices

|
Menu: Cabinet layout >
Insert 2D footprint
Contextual menu of the device reference: Insert
Double-click on the device reference |
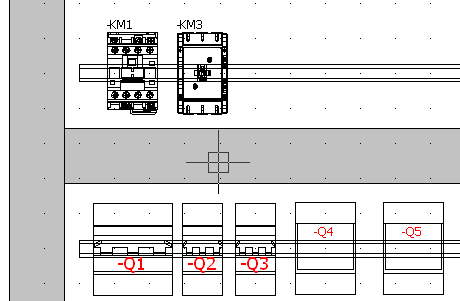
If a 2D footprint has been associated with the manufacturer
part, it will be used during insertion. You can click Other
symbol to select in the Cabinet
layout footprint selector, another symbol associated with
this manufacturer part.
If no symbol is associated, SOLIDWORKS Electrical
uses the generic symbol (e.g. EW_2D_CircuitBreaker
for a circuit breaker), taking into account the dimensions defined in
the manufacturer part.
Upon insertion, the dockable panel changes to display the insertion
options.
If you select several components, the Insertion order
dialog box opens to help you to manage the associated symbols and to define
the order to insert the 2D footprints.
Specify the symbol to insert
1. Click Other symbol to select another symbol
apart from the one suggested.
Symbol orientation
2. Adjust the
direction of the insertion of the 2D footprint. Select the angle of rotation
of the symbol.
Options
Hide background: Select this
option to hide elements placed behind the one currently being inserted.
3. Click the
insertion point in the graphic interface.
The scale factor selected, when inserting the cabinet, is used when
inserting the device.
Copying a device that already exists in the graphical interface automatically
creates a new reference, identical to the original.
You can also add a new device by selecting the Add
manufacturer part icon of the menu.
The dialog box for selecting a manufacturer part opens, letting you
select a new reference. After confirmation, it is ready to be inserted.