You export the smoothed mesh geometry to a new SOLIDWORKS part file.
-
Switch to the Optimization study tree tab. Under
Results

 , double-click Material Mass1 (-Material Mass).
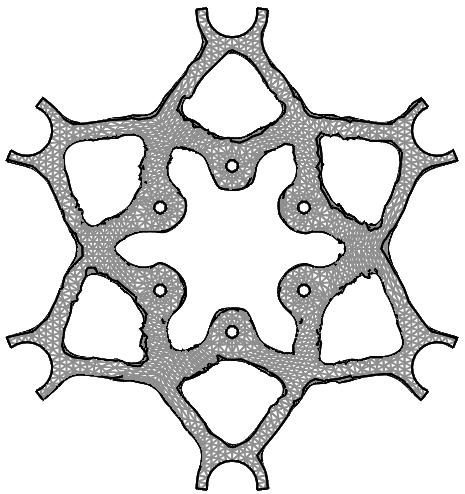
The Material Mass plot is shown in the graphics area.
-
In the Optimization
study tree, right-click Results
, and click View Convergence Data and Graph
 .
.
Verify that the optimization goal and constraint values
have converged to their target values. They are highlighted in green to show
that the optimization was successful.
-
In the Optimization study tree,
right-click Material Mass1 (-Material
Mass)
 , and click Export Smoothed Mesh
 .
.
-
In the PropertyManager:
-
Under Save mesh
info, select New part
file.
-
For Part name,
enter a file name for the new part.
-
For Save file
to, enter a file path to save the new part file.
-
Expand Advanced
Export. For Export
as, select Solid
Body.
-
Under Mesh body
options, select Create mesh
bodies bounded by single faces and Group facets into faces.
Group facets into faces collects multiple mesh
facets into selectable faces. These mesh faces are defined as a
collection of facets and do not have a parametric representation.
-
Click
 .
.
The software saves the optimized geometry as a mesh BREP (boundary
representation) body in a new
.SLDPRT part
file. The mesh body consists of triangular mesh facets. For solid bodies, the
mesh facets form a closed boundary surface, also known as watertight mesh.
You can
use this mesh body part as a template to create a new optimized design for the
disk brake.
Congratulations! You have completed this lesson.