To cut the tooling block into two pieces, you need two complete surfaces (a core surface and a cavity surface) without any through holes. Shut-off surfaces close up the through holes.
The changes to the geometry required to patch so many areas are very complex. Depending on variables such as your hardware, the number of processes running, and so on, these shut-off surface operations might require a few minutes to complete.
-
Click Shut-off Surfaces
 (Mold Tools
toolbar).
(Mold Tools
toolbar).
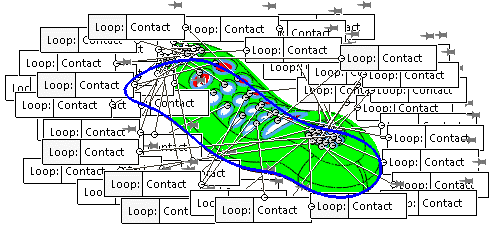
In the PropertyManager, all the through holes appear in
Edges

.
- Under Edges, select the following:
- Knit. Joins each shut-off surface into the cavity and core surfaces.
- Filter loops. Filters out loops that do not appear to be valid holes.
- Show callouts.
In the graphics area, callouts identify each loop with the default
surface fill type,
Contact.
-
Click Zoom
In/Out
 (View toolbar) and
enlarge the
image.
(View toolbar) and
enlarge the
image.
-
Click
 .
.
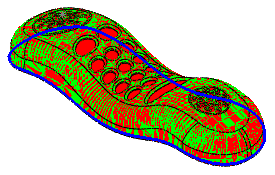
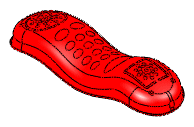
The uneven coloring of the model occurs because the cavity
surface is coincident with the faces of the solid body.
Optional Information about Cavity, Core, and
Shut-off Surfaces
When you created the
parting line, the software defined two surfaces:
| Surface |
Duplicates these faces
of the model |
Default color |
| cavity |
top |
green |
| core |
bottom |
red |
In the Shut-Off Surfaces PropertyManager, you created surfaces to
patch each through hole, which were knitted into the cavity and core
surfaces.
The surfaces are
listed in Cavity Surface Bodies
 and Core Surface Bodies
, under Surface Bodies
in the FeatureManager
design tree.
and Core Surface Bodies
, under Surface Bodies
in the FeatureManager
design tree.
| Cavity surface |
 |
| Part |
 |
| Core surface |
 |