In the Dimension Value PropertyManager, you can specify the display of dimensions. If you select multiple dimensions, only the properties that apply to all the selected dimensions are available.
Tolerance/Precision
| |
Callout value |
Choose a value in the currently selected dimension. This is available for dimensions with multiple values in the callout. |
 |
Tolerance Type |
Select from the list. Selections available depend on the type of dimension. Examples of Dimension Tolerance and Precision |
 |
Maximum Variation |
|
 |
Minimum Variation |
|
 |
Unit Precision |
Select the number of digits after the decimal point from the list for the dimension value. |
 |
Tolerance Precision |
Select the number of digits after the decimal point for tolerance values. |
| |
Link precisions with model |
For imported dimensions, sets changes in unit or tolerance precision to be parametric with the model. |
| |
Configurations (Parts and assemblies only.) |
Applies the dimension tolerance to specific configurations for driven dimensions only. |
 |
Classification (Fit, Fit with tolerance, or Fit (tolerance only).) |
When you select either Hole Fit or Shaft Fit (below), the list for the other category (Hole Fit or Shaft Fit) is filtered based on the classification. |
  |
Hole Fit and Shaft Fit (Fit, Fit with tolerance, or Fit (tolerance only).) |
Select from the lists, or type any text. Bilateral tolerances (Maximum Variation and Minimum Variation) are available in the Fit with tolerance or Fit (tolerance only) type if you specify Hole Fit or Shaft Fit, but not both.
|
| |
Fit tolerance display (Fit, Fit with tolerance, or Fit (tolerance only).) |
|
Stacked with line display 
|
|
|
Stacked without line display 
|
|
|
Linear display 
|
|
|
| |
Show parentheses |
Parentheses are available for Bilateral, Symmetric, and Fit with tolerance tolerance types. Parentheses are available for Fit with tolerance if you specify Hole Fit or Shaft Fit, but not both. |
Dimension Text
 |
Add Parentheses |
You can display driven (reference) dimensions with or without parentheses. They are displayed with parentheses by default.
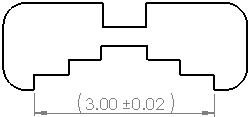
|
 |
Center Dimension |
When you drag dimension text between the extension lines, the dimension text snaps to the center of the extension lines.
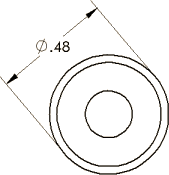
|
 |
Inspection Dimension |
 |
 |
Offset Text |
Offsets dimension text from the dimension line using a leader.
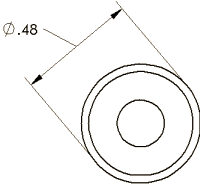
|
| |
Text |
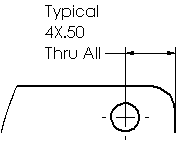
The dimension appears automatically in the center text box, represented by <DIM>. Place the pointer anywhere in the text box to insert text. If you delete <DIM>, you can reinsert the value by clicking Add Value  . .
For some types of dimensions, additional text appears automatically. For example, a Hole Callout for a counterbore hole displays the diameter and depth of the hole (<MOD-DIAM><DIM><HOLE-DEPTH>xx). Hole Callouts for holes created in the Hole Wizard display information from the Hole Wizard. You can edit the text and insert variables from the
Callout Variables
dialog box.
|
| |
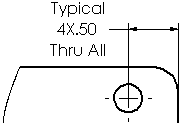
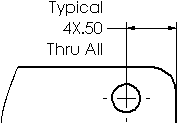
Justify |
You can justify text horizontally and, for some standards, you can justify the leader vertically.
- Left Justify
 , Center Justify , Center Justify  , Right Justify , Right Justify 
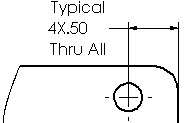 |
| Left Justify |
 |
| Center Justify |
 |
| Right Justify |
- Top Justify
 , Middle Justify , Middle Justify  , Bottom Justify , Bottom Justify 
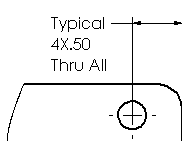 |
| Top Justify |
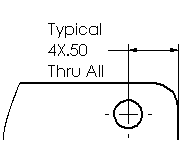 |
| Middle Justify |
 |
| Bottom Justify |
|
| |
Symbols |
Click to place the pointer where you want a standard symbol. Click a symbol icon or click More to access the Symbol Library.
|
| |
Chamfer Dimension Display |
|
Distance X Distance 
|
|
|
Distance X Angle 
|
|
|
Angle X Distance 
|
|
|
C Distance 
|
Available only for chamfers with 45° angles.
|
|
Dual Dimension
Specifies that the dimension is displayed in both the document's unit system and the dual dimension units. Both units are specified in
Document Properties - Units
. You set where the alternate units are displayed in
Document Properties - Dimensions
. Dual dimensions are displayed in brackets.
 |
Unit Precision |
Select the number of digits after the decimal point from the list for the dimension value. |
 |
Tolerance Precision |
Select the number of digits after the decimal point for tolerance values. |
| |
Link precisions with model |
For imported dimensions, sets changes in unit or tolerance precision for the secondary units to be parametric with the model. |