Before creating the electrical harness, first add in SOLIDWORKS
Routing, and open the assembly.
-
Click .
-
Select SOLIDWORKS
Routing.
Select SOLIDWORKS
Routing in the Start
Up column to activate Routing every time you start the
SOLIDWORKS application.
-
Click OK.
-
Download, extract, and open the required sample file for this
tutorial:
-
Click here to download routing.zip to your Downloads
folder.
For more information on downloading and managing sample files, see
Sample Files.
-
Browse to the Downloads folder and extract routing.zip to a convenient location.
For example, to organize your tutorial sample files,
create a folder in your Documents
folder named tutorial_files. Then
extract into that folder to create a subfolder named routing_electrical that contains the
SOLIDWORKS parts for the routing electrical tutorial.
-
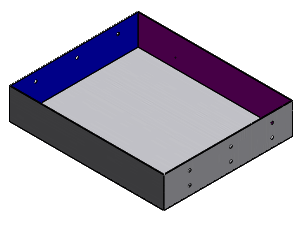
In the routing_electrical folder, open top_assy.SLDASM.
-
Click and save the part in the routing_electrical folder as my_top_assy.SLDASM.

Most electrical routing options are available only
when you edit a route. If you exit this mode, select
Edit Route

(Electrical Routing toolbar) to continue.