Next, you insert clips to organize the harness.
- From the electrical folder of the Routing Library, select the 90_richco_hurc-4-01-clip.sldprt clip.
- Drag the clip to the lower left hole of the side of the assembly.
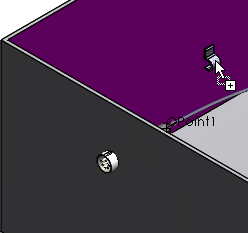
This is the side of the assembly that has holes but no plugs. You might need
to rotate the assembly to display this side.
-
Release the clip when it mates with the left hole of the side
wall.
If prompted to
select a configuration, click OK to
select the default.
To stop adding new clips that overlap with the existing clip
in the harness, press
ESC.
- Drag two more clips where they mate with the other holes as shown.
-
Press ESC to stop
adding new clips.